Quick answer
To track expenses, record every purchase as soon as you make it, with its amount and a category, then add up the categories each week. A notebook, a spreadsheet, your bank app or an expense tracker app all work. Pick the one with the fewest steps when you pay, because the method you keep up beats the clever one.
- Start with
- One month of spending
- Log
- Every purchase, when you pay
- Review
- Once a week
- Easy to miss
- Cash and small buys
On this page
How to track expenses by hand, step by step
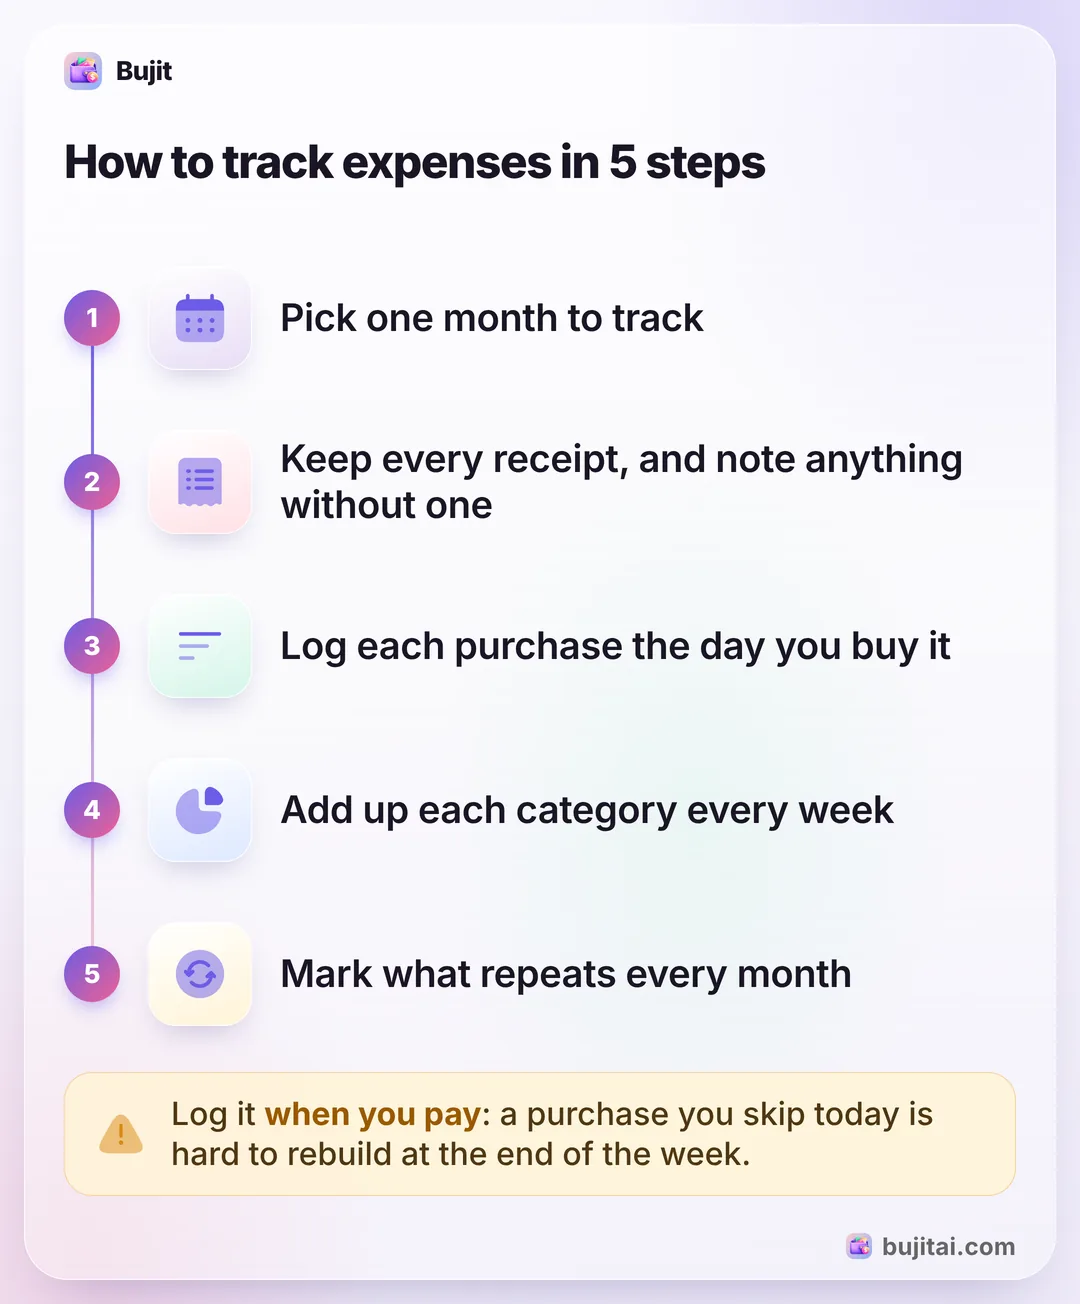
Learning how to track expenses takes one month and five steps, whatever you write them in. It builds on the Consumer Financial Protection Bureau's spending tracker, which uses paper and an envelope, with one change: log each purchase the day you make it instead of sorting receipts once a week.
- Pick one month to track. A full month catches the bills that come once a month, not just the day-to-day spending. If that feels like too much, start with one or two weeks.
- Keep every receipt in one envelope. If you don't get a receipt, write the amount and what it was on a scrap of paper and add it to the pile. If you'd rather not keep the paper, here's how to scan receipts on iPhone.
- Log each purchase the same day: the date, the amount, what it was and a category such as groceries, eating out or transport. If you're not sure which to use, a short list of budget categories is a good place to start.
- Add up each category every week, then add the weeks together at the end of the month. Groceries are often the biggest one you can change, so setting a grocery budget is a good first step.
- Mark what repeats. Rent, your phone plan and subscriptions are the same every month. What's left is where you have choices. Subscriptions are worth a look too: the list of subscriptions in your iPhone's Settings can turn up one you've stopped using, and here's how to cancel subscriptions on iPhone.
Cash is the first thing to slip through, because there's nothing to look up later. If you pay cash often, keeping cash in the count has its own guide.
4 ways to track expenses, and what each asks of you
All four follow the same steps. What changes is how much each one asks of you every time you buy something.
1. A notebook
Write down every purchase and add it all up at the end of each week. It costs nothing, and nobody else sees it. But you do all the maths, and a day you miss is easy to never make up.
2. A spreadsheet
A spreadsheet adds up for you, sorts by category and draws charts. Google Sheets has ready-made budget templates: on a computer, open Sheets, click Template Gallery at the top right and pick one, and a copy opens for you. You still type every row, though, and most people end up doing it later, from a pile of receipts. Setting up a budget template in Google Sheets covers Google's templates and building your own.
3. Your bank or card app
Your card spending is already there, with nothing to type. On iPhone, the Wallet app can show the latest transactions for the cards you use with Apple Pay; your Apple Pay transaction history shows where to find them. But cash never shows up, each bank or card has its own app, and merchant names can be hard to read. Budget apps that sign in to your bank accounts can put them in one list, if you're happy to give them your bank login. Many add an AI assistant on top, and it's worth knowing what the AI in a budgeting app really does before you link one. If you'd rather not, a budget app without bank account access works from what you add instead.
4. An expense tracker app, used when you pay
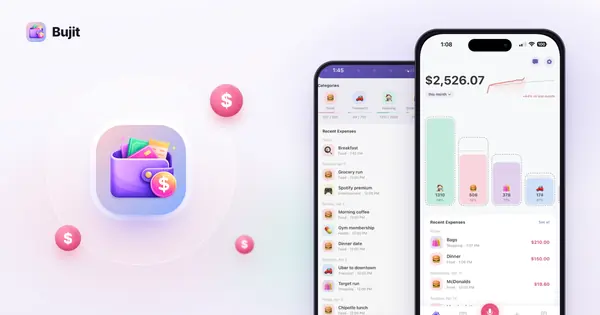
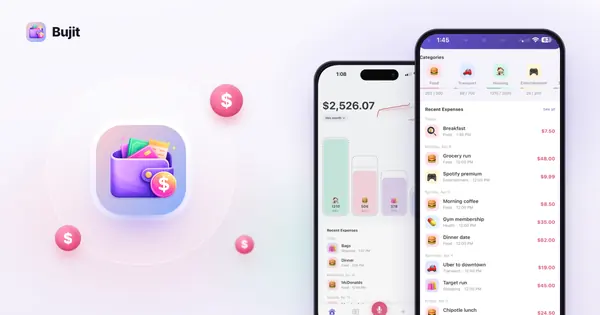
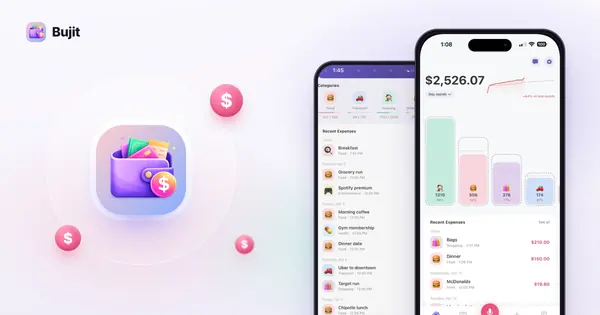
Logging each purchase the moment it happens, in an app made for it, takes a few seconds, then the app does the adding up, cash included. Bujit, the app we make, works this way.
| Notebook | Spreadsheet | Bank app | Bujit | |
|---|---|---|---|---|
| Adds it up for you | ||||
| Cash in the same place | ||||
| Every card in one list | One bank each | |||
| Nothing to type | Apple Pay taps | |||
| Needs a bank login | No | No | Yes | No |
How to track expenses in Bujit
Bujit has no bank login and no account. You add each purchase in a few seconds, and it lands in the month with its category.
In Bujit
Get Bujit- Type it. Tap + at the top right, then Manual Entry. Enter the amount, type what it was for, pick a category and tap Save.
- Or say it. Tap the microphone and say it the way you'd tell a friend: "coffee, four fifty". Bujit fills in the amount, a note and the category, and you can say a few purchases at once.
- Or scan the receipt. Tap +, then Scan Receipt, and take a photo or choose one you already have. Bujit reads the shop, the total and the date, and for a receipt with several items you can save it as one expense or item by item.
- Let Apple Pay log itself. On iPhone, a Shortcuts automation can log each Apple Pay purchase you tap your iPhone to pay for. Settings, then Track Apple Pay, shows how to set it up once in the Shortcuts app.
- Check your month. Home shows the month's total and your spending by category, and Budgets shows how close each budgeted category is to its limit.
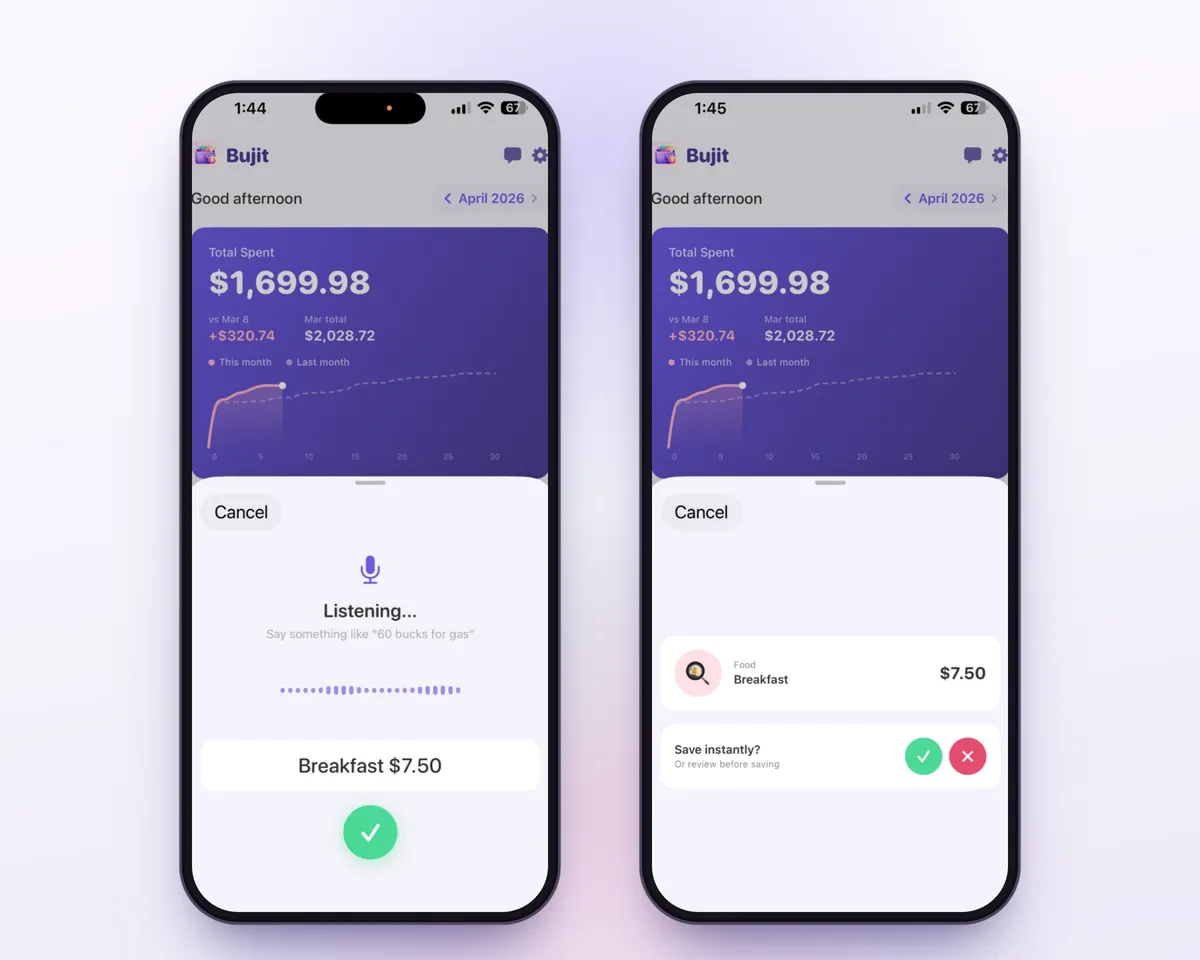
You pick the category for a typed expense, and Apple Pay purchases are categorized on your phone from the merchant's name. Voice entry and receipt scanning are part of Bujit Pro. They send what they need to Google Gemini, and only after you agree. Your expenses are stored on your phone.
Which should you use?
- You want no tech at all and don't mind the maths: a notebook and an envelope of receipts.
- You like formulas and charts, and will sit down once a week: a spreadsheet.
- You pay for nearly everything with one card: your bank app may be enough. Check it every week.
- You use cash, more than one card and Apple Pay, and want it done in seconds: an expense app like Bujit, logged when you pay.
Once you know where the money goes, setting up your first budget is the next step, and making a monthly budget from those totals shows how to do it line by line.
Questions people ask
What is the easiest way to track expenses?
Log each purchase the moment you pay, on something you always have with you. For most people that's their phone. An expense tracker app takes a few seconds per purchase and does the adding up, and some purchases, like Apple Pay taps on iPhone, can be logged for you.
How do I start tracking my expenses?
Pick one month. Keep every receipt, write down anything without one, and give each purchase a category. At the end of each week, add up each category; at the end of the month, add the weeks together. If a month feels like too much, start with one or two weeks.
Should I track expenses daily or weekly?
Log daily, when you spend, because small purchases are forgotten within a day or two. Review weekly: add up each category and see where the money went.
What categories should I use to track expenses?
Start with a few broad ones, such as housing and bills, groceries, eating out, transport, shopping and other. Split a category only when it's big enough that you want to watch it on its own.
Can I track expenses without linking my bank account?
Yes. A notebook, a spreadsheet and an expense app with no bank connection all work without a bank login. You add each purchase yourself, which also means cash gets counted. Bujit works this way: no bank login and no account.
How do you track expenses in Bujit?
Type the purchase, say it out loud or scan the receipt, and it lands in the month with a category. On iPhone, a Shortcuts automation can log each Apple Pay purchase you tap your iPhone to pay for. Voice entry and receipt scanning are part of Bujit Pro, and they send what they need to Google Gemini, only after you agree.
Sources
- Spending tracker (Consumer Financial Protection Bureau) (checked Oct 28, 2026)
- Use templates (Google Docs Editors Help) (checked Oct 28, 2026)
- See your Apple Pay transaction history (Apple Support) (checked Oct 28, 2026)